
TinyMCE is a WYSIWYG editor where you can edit and preview the end result of the document.
In TinyMCE by default, all labels are in US English (en_US) but it is customizable to any other language using language option.
There is more than 50 languages script package is available which can be downloaded and use in language defining.
Contents
1. Download Language
- Download TinyMCE and extract it into your project directory.
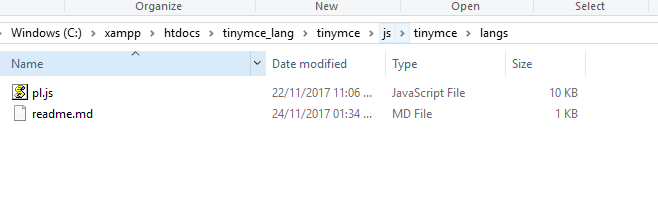
- Download the required Language script from here. I have downloaded the polish script (pl.js).
- Now copy the downloaded scripts in the
tinymce/langsdirectory.
- Include
tinymce.min.jsscript on the page.
2. Configure
Create a <textarea> element and initialize TinyMCE editor on the <textarea> by calling tinymce.init() method.
Define language option to set polish language assign the language script file name (pl.js) in language: 'pl'.
Completed Code
<!doctype html>
<html>
 <head>
 <script src='tinymce/js/tinymce/tinymce.min.js' type='text/javascript'></script>
 <script>
 tinymce.init({
    selector: 'textarea',
    themes: 'modern',
    height: 200,
    language: 'pl'
 });
 </script>
 </head>
 <body>
    <textarea ></textarea>
 </body>
</html>
3. Demo
4. Conclusion
You don’t need to include any external script in your webpage for changing the label language in TinyMCE editor. Just download required language script and copy it in the langs directory and define language option in tinymce.init() method.
Make sure file name while specifying language option.