
Moodle blocks are like small tools or content boxes you can put on different parts of your Moodle page, like the left or right side. The fun part is making your own blocks, where you can add special features or content to make your Moodle site unique.
Whether you’re new to Moodle or just starting with block creation, we’ll take you through each step. By the end, you will able to create your own block for your Moodle website.

Table of Content
- Creating Your Block Directory
- Defining the Block
- Registering the Block
- Installing the Block
- Testing Your Block
- Conclusion
1. Creating Your Block Directory
Let’s create a space for your custom block within the Moodle directory structure.
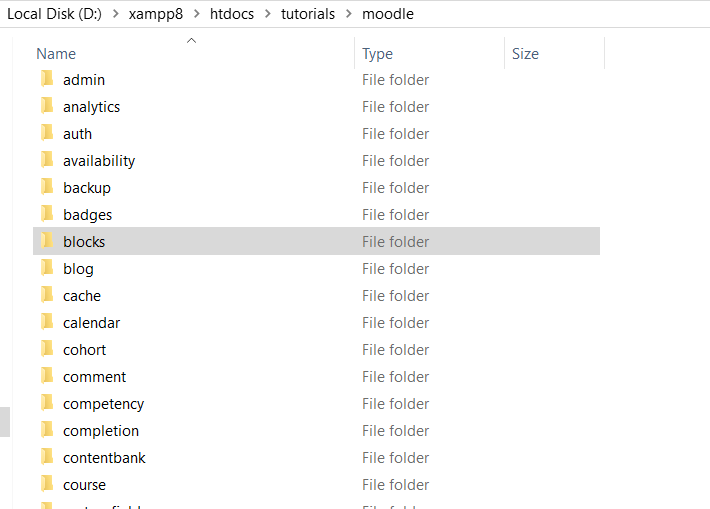
- Understanding the Moodle Directory Structure
Moodle has a specific structure, and each type of component, including blocks, has its designated place. Locate the blocks directory within your Moodle installation. This is where your custom block will reside.
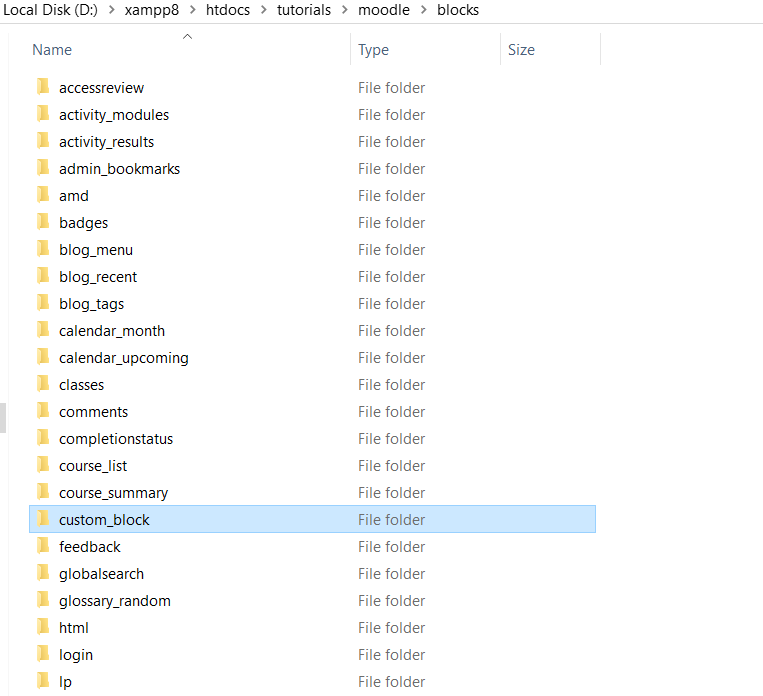
- Creating a New Directory for Your Block
Inside the blocks directory, create a new folder named after your block. For example, if your block is called custom_block create a folder named custom_block. This folder will contain all the files connected to your custom block.
2. Defining the Block
Now that your block directory is ready, it’s time to define the basic structure of your custom Moodle block.
Introduction to the block_base Class
In Moodle, blocks are created by extending the block_base class. This class provides a foundation with essential methods for block functionality.
Creating block_custom_block.php
Inside your block directory (custom_block in our example), create a new PHP file named block_custom_block.php. This file will contain the code for your custom block.
1. Extending the block_base Class:
Open block_custom_block.php and start by extending the block_base class. This establishes a connection with Moodle’s block framework.
class block_custom_block extends block_base {
2. Initializing the Block in the init Method:
In the same file, add an init method to set basic properties for your block, such as the title.
public function init() {
     $this->title = get_string('custom_block', 'block_custom_block');
}
3. Defining the Content in the get_content Method:
Implement the get_content method to specify what your block displays.
public function get_content() {
if ($this->content !== null) {
return $this->content;
}
$this->content = new stdClass;
// Add content to your block here
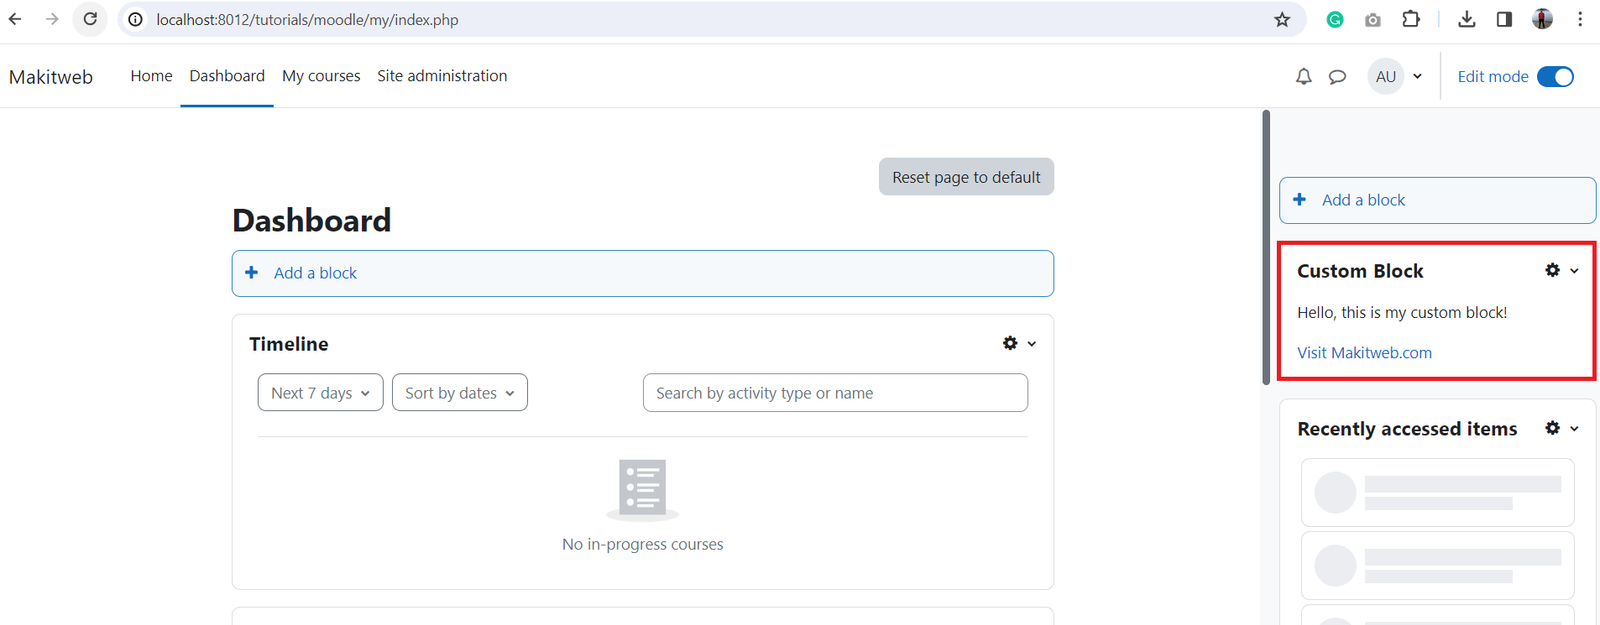
$this->content->text = '<p>Hello, this is my custom block!</p>';
// Example: Adding a link
$this->content->text .= '<a href="https://mintcream-cheetah-602163.hostingersite.com">Visit makitweb.com</a>';
return $this->content;
}
With this setup, your block is now recognized by Moodle.
Full code (block_custom_block.php)
<?php

class block_custom_block extends block_base {

    public function init() {

         $this->title = get_string('custom_block', 'block_custom_block');

    }

    public function get_content() {

         if ($this->content !== null) {

             return $this->content;

         }

         $this->content = new stdClass;

         // Add content to your block here
         $this->content->text = '<p>Hello, this is my custom block!</p>';

         // Example: Adding a link
         $this->content->text .= '<a href="https://mintcream-cheetah-602163.hostingersite.com">Visit Makitweb.com</a>';

         return $this->content;

    }

}
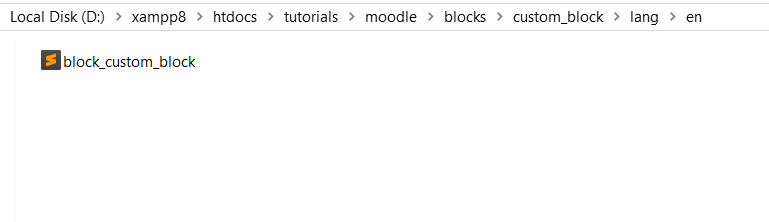
Language File Creation:
To make your block multilingual, create a language file. Inside your block directory, create a folder named lang and add a language file, e.g., en/block_custom_block.php. Define strings in this file access using the get_string function.
<?php
$string['pluginname'] = 'Custom Block';
$string['custom_block'] = 'Custom Block';
$string['custom_block:addinstance'] = 'Add a new custom block';
3. Registering the Block
Now that you’ve defined the basic structure of your custom block, let’s register it with Moodle so it knows your block exists and can be used.
A. Creating the `version.php` File
In your block directory (custom_block), create a new file named version.php. This file is crucial for registering your block, setting version information, and defining dependencies.
1. Specifying the Block Version:
Open version.php and set the version of your block.
$plugin->version = 2024010600; // Adjust the version as needed
2. Setting Moodle Version Requirements:
Specify the version of Moodle your block is compatible with.
$plugin->requires = 2022112800; // Adjust the required Moodle version
3. Defining the Block Component Name:
Identify your block by defining its component name.
$plugin->component = 'block_custom_block'; // Match this to your block directory name
With the version.php file in place, Moodle can now recognize and manage your custom block. In the upcoming sections, we’ll proceed with the installation and testing phases.
Full code (version.php)
<?php

$plugin->requires = 2022112800; // Adjust the required Moodle version
$plugin->version = 2024010700; // Adjust the version as needed
$plugin->component = 'block_custom_block'; // Match this to your block directory name
4. Installing the Block
Now that your custom block is officially registered, let’s go through the steps to install it on your Moodle site.
A. Logging In as an Administrator
To install the block, log in to your Moodle site as an administrator. Admin privileges are necessary for installing and managing plugins.
B. Moodle’s Automatic Detection and Installation Process
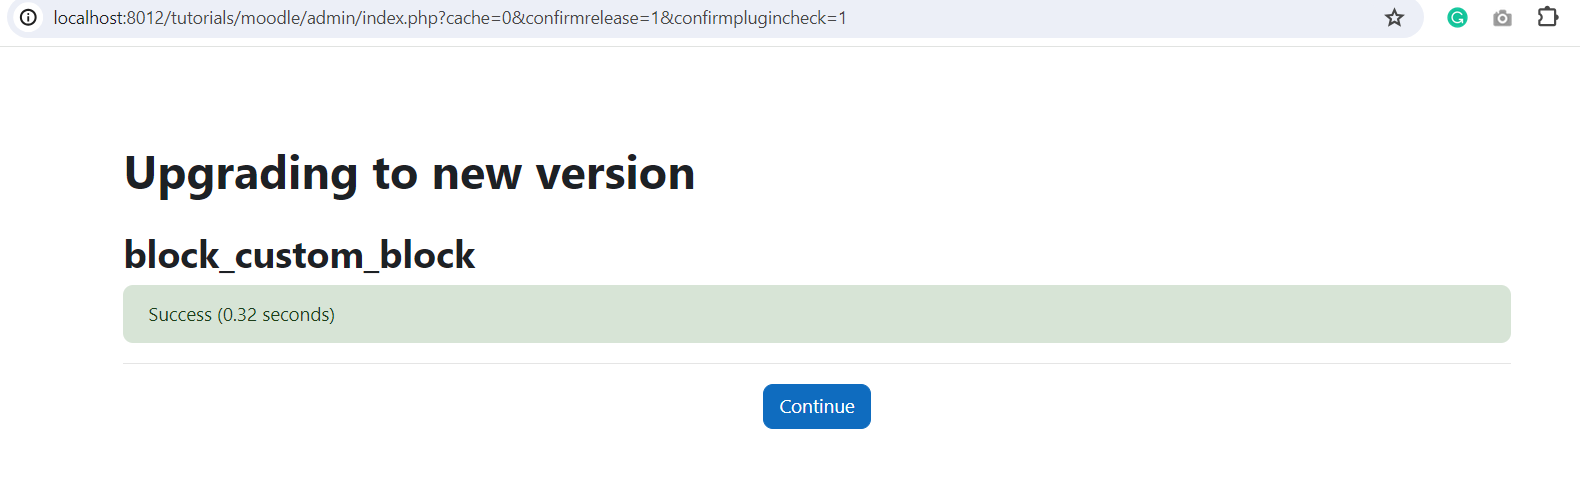
Moodle is clever enough to identify new plugins, including your custom block. Once you log in as an administrator, Moodle will notice the existence of your block and ask you to install it.

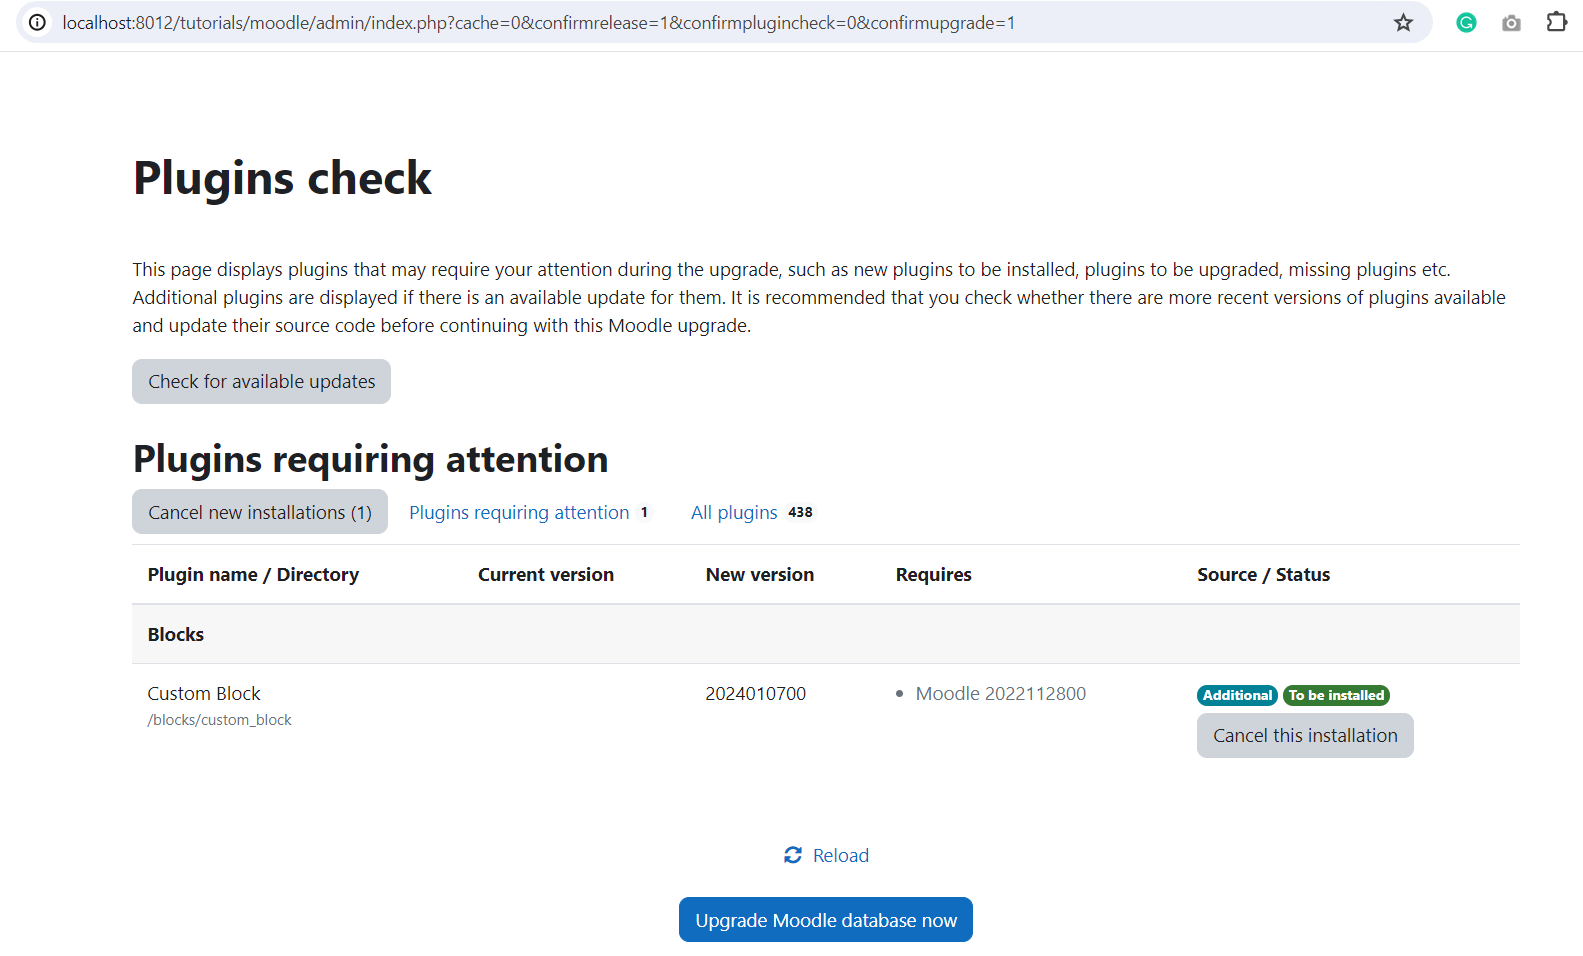
Moodle will handle the installation process, and you’ll get a confirmation once it’s successfully installed.
5. Testing Your Block
Adding the Block to a Moodle Course or Dashboard.
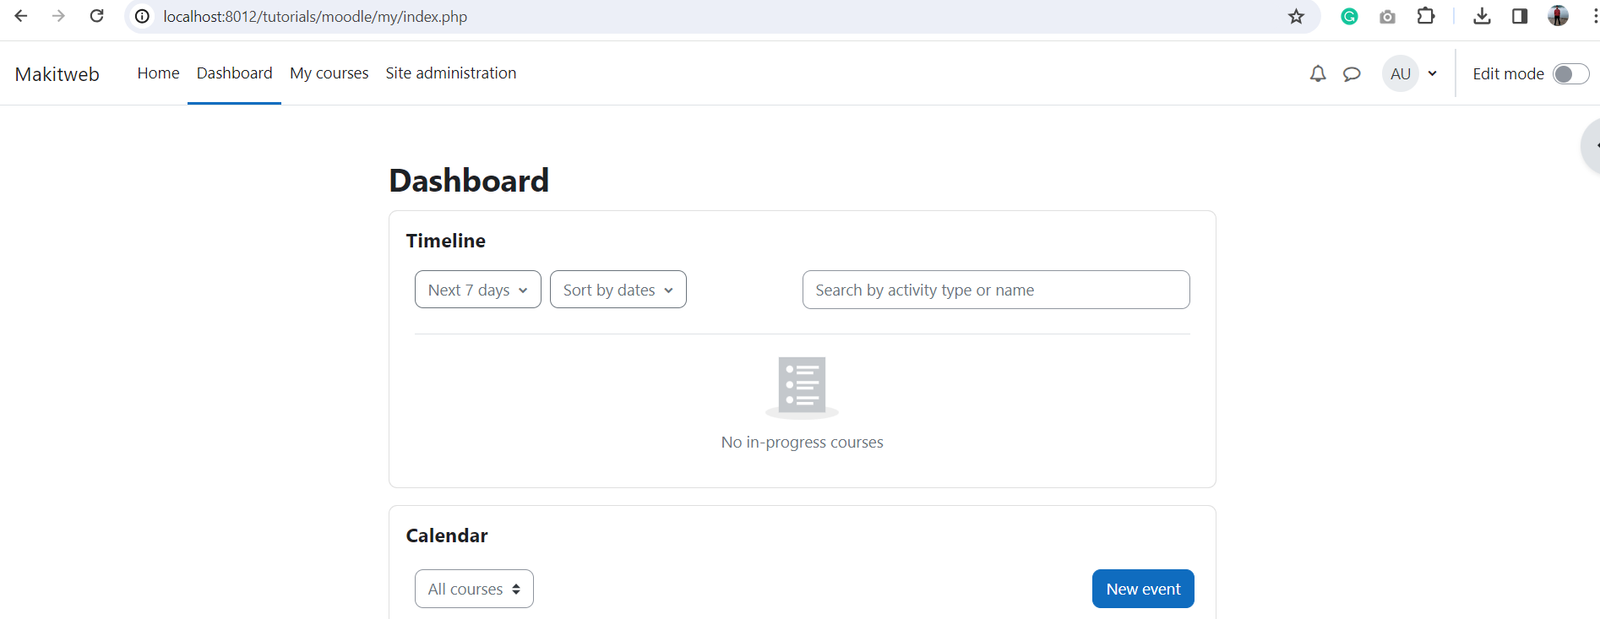
1. Navigate to Your Course or Dashboard:
- Log in to Moodle and go to a course or dashboard where you want to test your custom block.
- I am adding a block in the “Dashboard”.
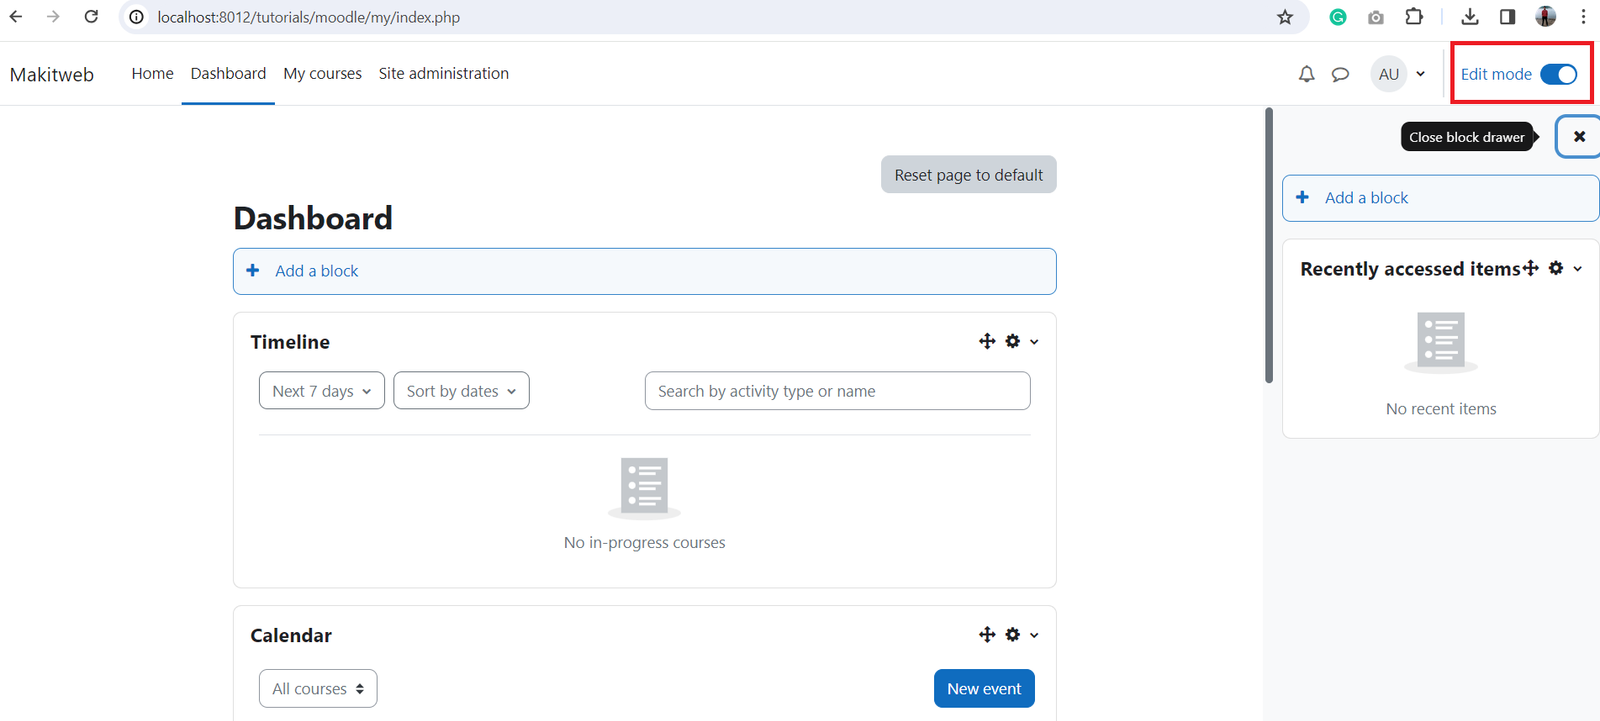
2. Enable Editing:
- Make sure editing is enabled. You can usually find an “Edit mode” or “Turn editing on” option on the page.
3. Locate the Blocks Section:
- Find the section where you want to add your block (left, center, or right section).
4. Add Your Custom Block:
- Look for a block adding option. It might be a “Add a block” link or a similar option depending on your Moodle version.
- Find and select your custom block from the list.
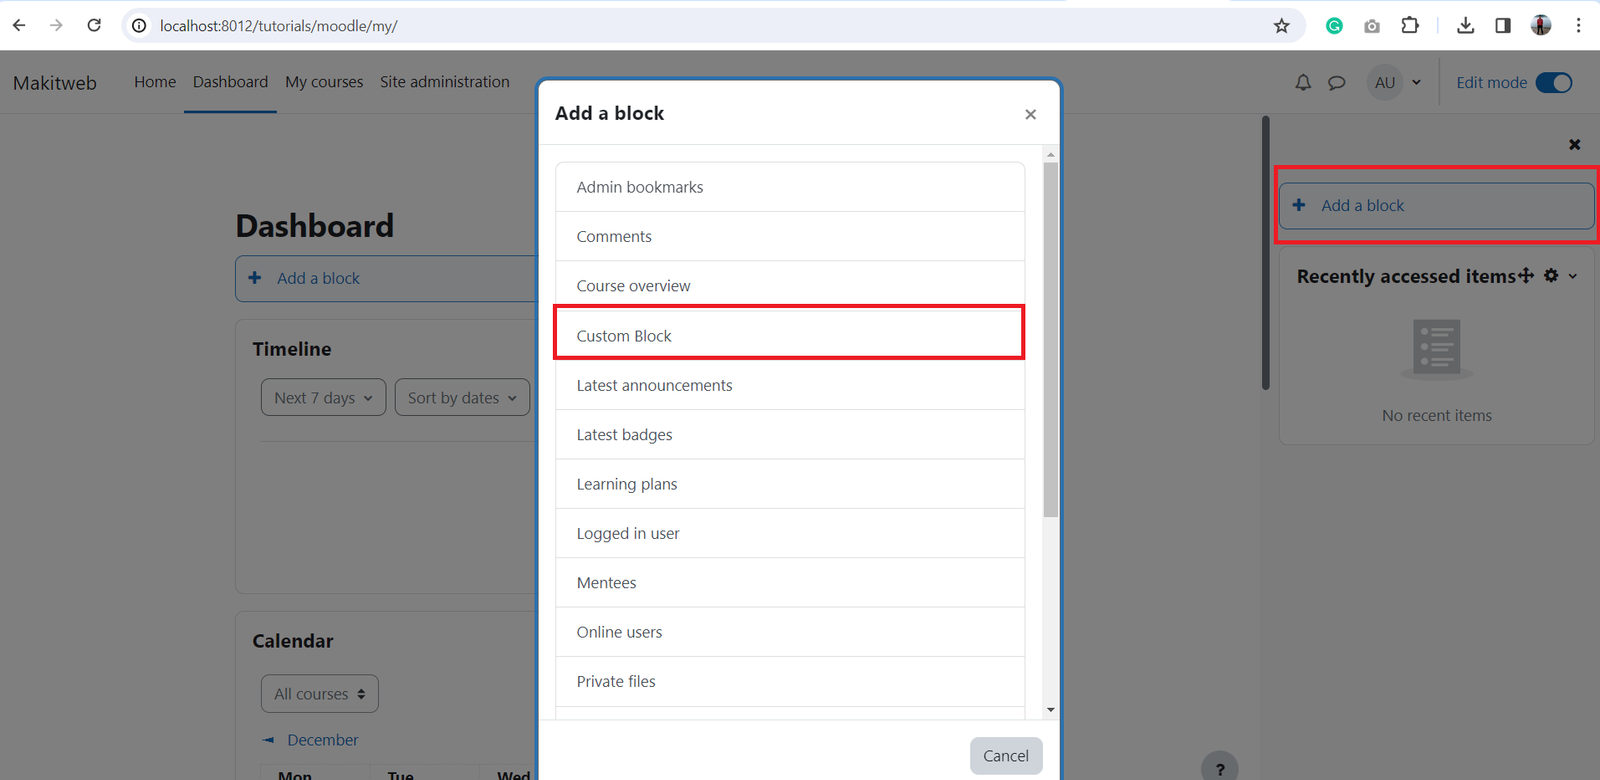
5. Check for Your Block:
- Confirm that your custom block appears in the chosen section.
5. Conclusion
Creating blocks in Moodle can be an exciting journey, and we’ve guided you through each step with our easy-to-follow guide. From installation to adding custom blocks, you’ve gained the know-how to make your Moodle site uniquely yours.
In the tutorial, I give a link to download the custom_block. You can download it, test it in your project, and customize it.
You can view this tutorial if you know how to add a database table to your Moodle block.
If you found this tutorial helpful then don't forget to share.