Laravel is a free open-source web development framework that follows the Model view controller (MVC) architectural pattern.
It uses Composer to manage its dependencies.
In this tutorial, I show step by step how you can install Laravel on your Windows system.
Contents
- System Requirement
- Download and Install Composer
- Create Project
- Start Development Server
- Output
- Conclusion
1. System Requirement
- PHP >= 7.1.3
- OpenSSL PHP Extension
- PDO PHP Extension
- Mbstring PHP Extension
- Tokenizer PHP Extension
- XML PHP Extension
- Ctype PHP Extension
- JSON PHP Extension
2. Download and Install Composer
- Download Composer-Setup.exe from here.
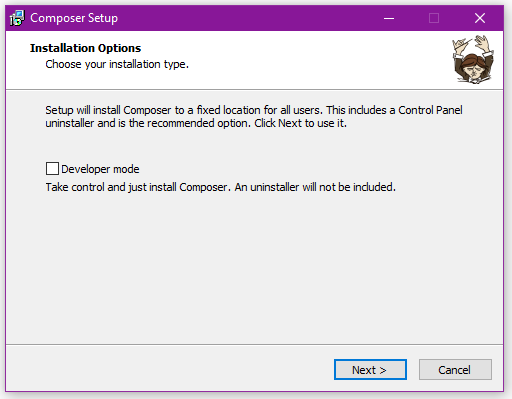
- Run the downloaded file.
- Click Next.
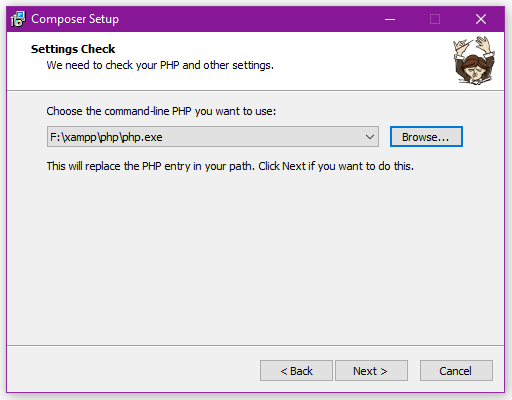
- Browser the php.exe location and Click Next.
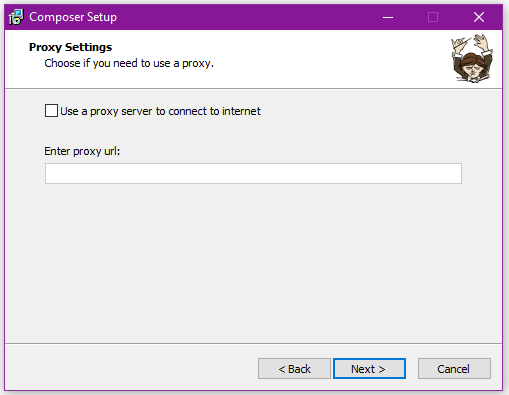
- Click Next.
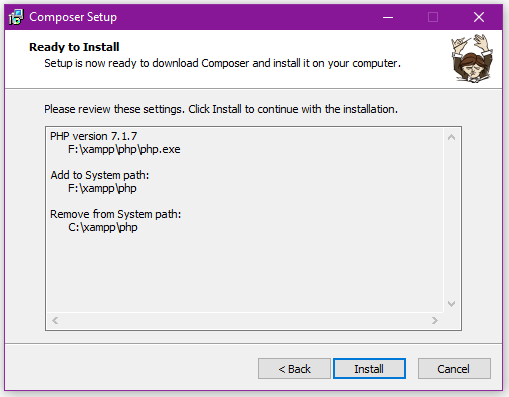
- Click Install.
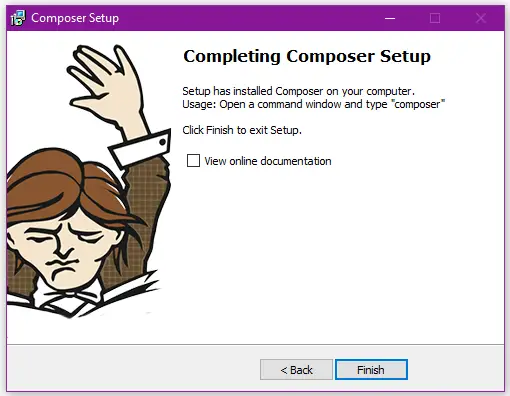
- Finish.
3. Create Project
- Open Command Prompt and navigate to
xampp/htdocs/directory. - Execute
composer create-project laravel/laravel {project-name}. Enter the name of your project in the place of{project-name}e.g.composer create-project laravel/laravel laravel_project. - This will download and install the latest version of Laravel.
F:\>cd xampp\htdocs
F:\xampp\htdocs>composer create-project laravel/laravel laravel_project
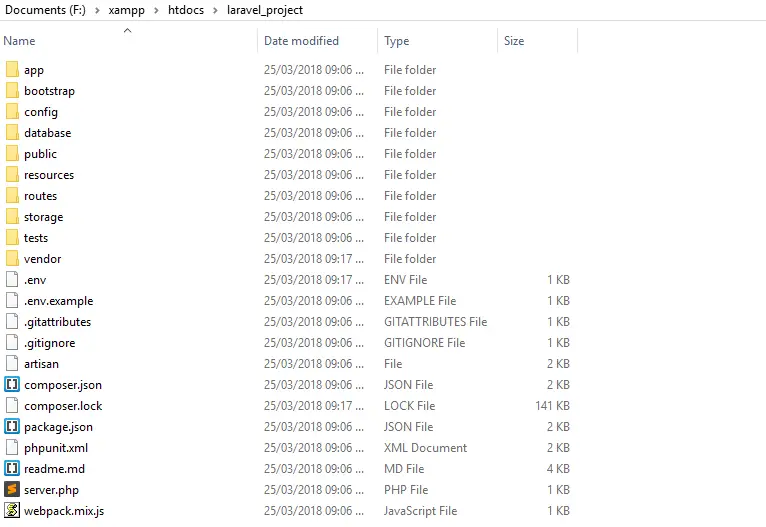
Directory structure after installation –
4. Start Development Server
- Open Command Prompt.
- Navigate to the newly created project directory (laravel_project).
- Run
php artisan serve. This will start the development server.
F:\xampp\htdocs>cd laravel_project
F:\xampp\htdocs\laravel_project>php artisan serve
Change Port
Add --port={port-number} to php artisan serve command.
F:\xampp\htdocs>cd laravel_project
F:\xampp\htdocs\laravel_project>php artisan serve --port=3421
5. Output
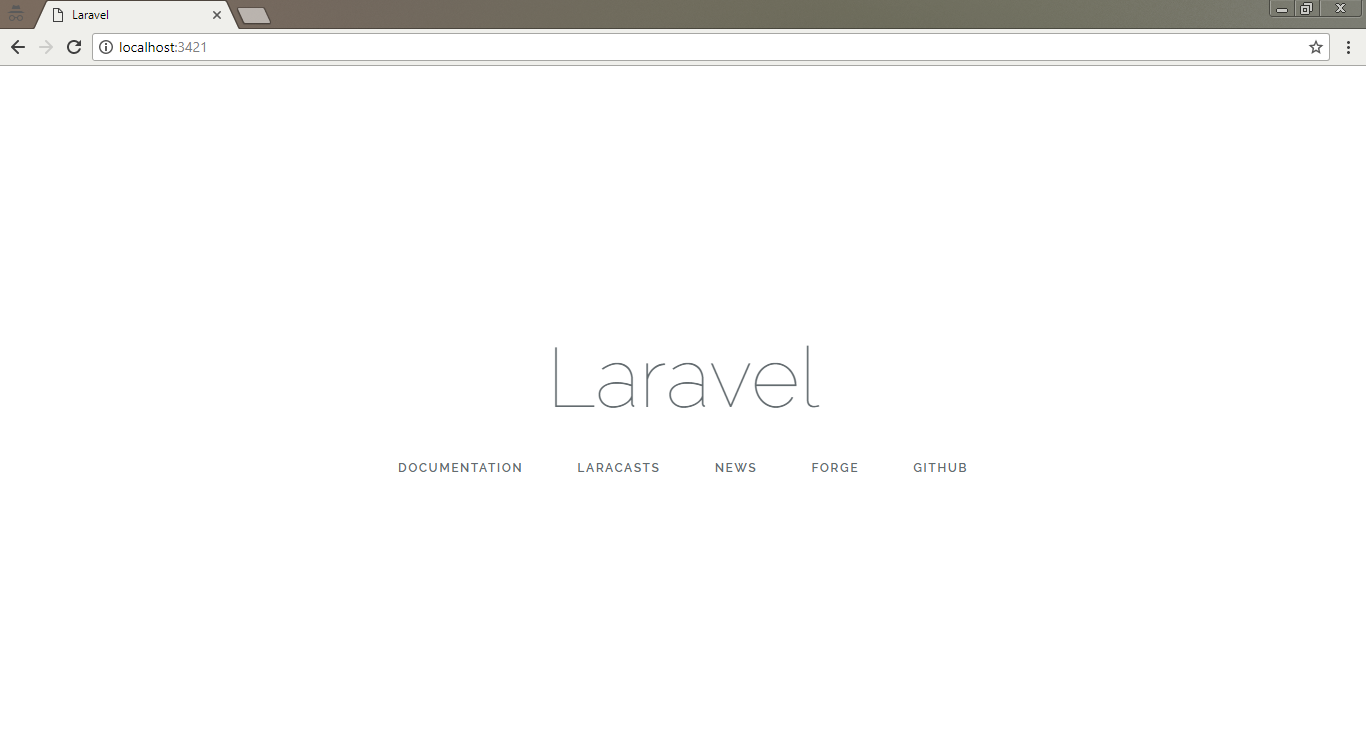
In browser run localhost:8000 if have not set port otherwise run localhost:3421 with your set port number.
6. Conclusion
You need to install Composer on your system to create a Laravel project. Use php artisan serve command to run the development server.


