
Photobox is a jQuery library that use to add image gallery on the webpage.
It comes with different options for customization and supports IE8+ and modern browsers.
You need to arrange images in a specific order and initialize Photobox on the container to create the gallery.
In this tutorial, I am using the Photobox library to create the image gallery by reading uploaded images from a directory with PHP.

Contents
1. Upload File
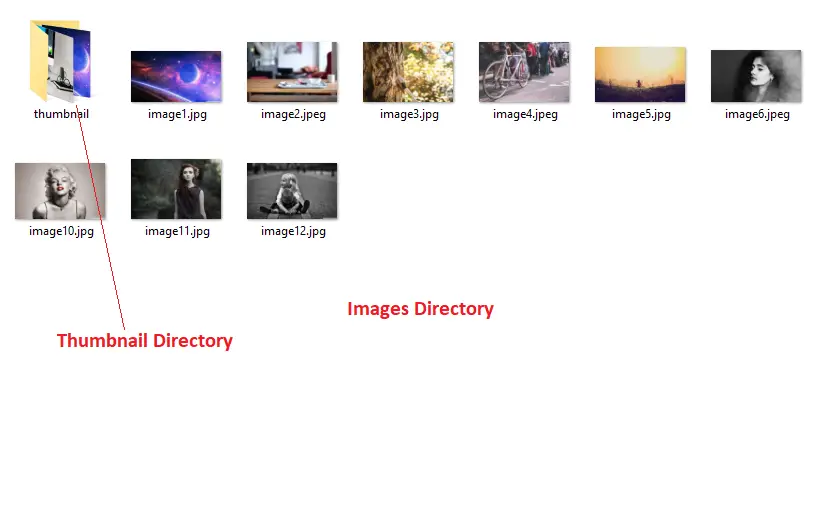
Create a new upload.php file and images directory where store all image files. To store the thumbnail of images create a thumbnail directory in images the directory.
Form
Create a <form> with file element and a submit button.
Upload & compress image size
On form submit define valid image extensions in $valid_ext and set upload location.
If the file extension is valid then upload the file to images/ directory and for thumbnail reduce the uploaded file size by calling compressImage().
In compressImage() function pass 4 parameters –
- File type
$_FILES['imagefiles']['type'], - Uploaded file location
$location, - Thumbnail destination
$thumbnail_location, and - Image quality
60(You can adjust the image quality 0-100).
Completed Code
<!doctype html>
<html>
 <body>
   <?php
   if(isset($_POST['upload'])){

     // File name
     $filename = $_FILES['imagefiles']['name'];

     // Valid extension
     $valid_ext = array('png','jpeg','jpg');

     // Location
     $location = "images/".$filename;
     $thumbnail_location = "images/thumbnail/".$filename;

     // file extension
     $file_extension = pathinfo($location, PATHINFO_EXTENSION);
     $file_extension = strtolower($file_extension);

     // Check extension
     if(in_array($file_extension,$valid_ext)){

       // Upload file
       if(move_uploaded_file($_FILES['imagefiles']['tmp_name'],$location)){

         // Compress Image
         compressImage($_FILES['imagefiles']['type'],$location,$thumbnail_location,60);

         echo "Successfully Uploaded";
       }

     }
   }

   // Compress image
   function compressImage($type,$source, $destination, $quality) {

     $info = getimagesize($source);

     if ($type == 'image/jpeg')
       $image = imagecreatefromjpeg($source);

     elseif ($type == 'image/gif')
       $image = imagecreatefromgif($source);

     elseif ($type == 'image/png')
       $image = imagecreatefrompng($source);

     imagejpeg($image, $destination, $quality);

   }

   ?>

   <!-- Upload form -->
   <form method='post' action='' enctype='multipart/form-data'>
     <input type='file' name='imagefiles' >
     <input type='submit' value='Upload' name='upload'>
   </form>
 </body>
</html>
2. Download library
- Download the Photobox library from GitHub.
3. HTML & PHP
Create a new index.php file.
Include photobox.css and jquery.photobox.js with a jQuery library.
Read files from images directory and also thumbnail images.
Pass the image file path in <a > and <img > element.
Completed Code
<!doctype html>
<html>
 <head>
   <!-- CSS -->
   <link href='photobox/photobox.css' rel='stylesheet' type='text/css'>
   <link href='style.css' rel='stylesheet' type='text/css'>

   <!-- Script -->
   <script src="https://ajax.googleapis.com/ajax/libs/jquery/3.6.0/jquery.min.js"></script>
   <script type="text/javascript" src="photobox/jquery.photobox.js"></script>
 </head>
 <body>

   <div class='container'>
    <div class="gallery">

    <?php
    // Image extensions
    $image_extensions = array("png","jpg","jpeg","gif");

    // Target directory
    $dir = 'images/';
    if (is_dir($dir)){

      if ($dh = opendir($dir)){
        $count = 1;

        // Read files
        while (($file = readdir($dh)) !== false){

          if($file != '' && $file != '.' && $file != '..'){

            // Thumbnail image path
            $thumbnail_path = "images/thumbnail/".$file;

            // Image path
            $image_path = "images/".$file;

            $thumbnail_ext = pathinfo($thumbnail_path, PATHINFO_EXTENSION);
            $image_ext = pathinfo($image_path, PATHINFO_EXTENSION);

            // Check its not folder and it is image file
            if(!is_dir($image_path) &&
                in_array($thumbnail_ext,$image_extensions) &&
                in_array($image_ext,$image_extensions)){
       ?>
                <!-- Image -->
                <a href="<?= $image_path; ?>">
                  <img src="<?= $thumbnail_path; ?>">
                </a>
       <?php
                // Break
                if( $count%4 == 0){
       ?>
                   <div class="clear"></div>
       <?php
                }
                $count++;
             }
          }

         }
           closedir($dh);
        }
      }
      ?>
      </div>
    </div>

  </body>
</html>
4. CSS
Create style.css file.
Completed Code
.container{
  margin: 0 auto;
}

.container .gallery a img {
  float: left;
  width: 20%;
  height: auto;
  border: 2px solid #fff;
  -webkit-transition: -webkit-transform .15s ease;
  -moz-transition: -moz-transform .15s ease;
  -o-transition: -o-transform .15s ease;
  -ms-transition: -ms-transform .15s ease;
  transition: transform .15s ease;
  position: relative;
}

.container .gallery a:hover img {
  -webkit-transform: scale(1.05);
  -moz-transform: scale(1.05);
  -o-transform: scale(1.05);
  -ms-transform: scale(1.05);
  transform: scale(1.05);
  z-index: 5;
}

.clear {
  clear: both;
  float: none;
  width: 100%;
}
5. jQuery
Initialize photobox on $(''.gallery) selector.
Completed Code
$(document).ready(function(){
  $('.gallery').photobox('a',{ time:0 });
});
6. Demo
7. Conclusion
I compressed the image size to display thumbnails and only allowed single file upload but you can customize it to enable multiple file upload.
If you found this tutorial helpful then don't forget to share.