
CodeIgniter is a popular PHP framework that helps developers build dynamic and robust web applications quickly and efficiently. With its latest version, CodeIgniter 4, developers can enjoy improved performance, enhanced security, and a more modular architecture.
In this tutorial, I show how you can install the Codeigniter 4 project on Windows and Mac.

Table of Content
- Server Requirements & Enable extensions
- Installing CodeIgniter 4 on Windows
- Installing CodeIgniter 4 on Mac
- Run CodeIgniter 4 project
- Conclusion
1. Server Requirements & Enable extensions
PHP version required:
- CodeIgniter 4 requires PHP version 7.4 or higher.
Extension need to be enabled:
- Open
php.inifile to enableintlandmbstringextension. - Search extension in the file.
extension=intl.dll
extension=mbstring.dll
OR
extension=php_intl.dll
extension=php_mbstring.dll
- Remove semicolon (;) if exists to enable the extension.
- Restart the server.
2. Installing CodeIgniter 4 on Windows
There are 2 ways to install CodeIgniter 4 on Windows:
1. Download Codeigniter 4:
- Download the latest version zip file from the CodeIgniter 4 official website.
- Copy the downloaded zip file in the
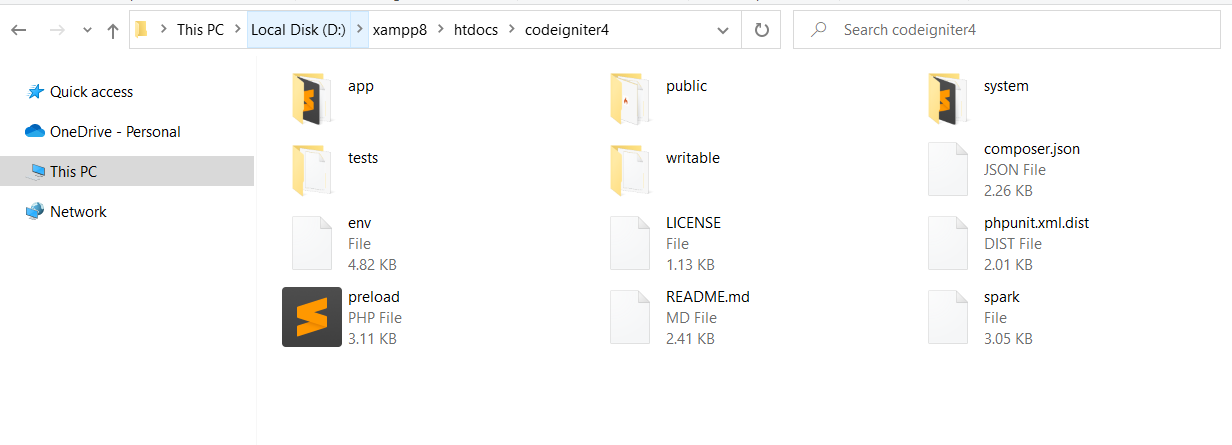
htdocs/folder and extract it. - Rename the folder (e.g. codeigniter4).
- CodeIgniter 4 installation is now complete. To run the project go to section 4: Run CodeIgniter 4 project.
2. Installing CodeIgniter 4 using Composer:
- Navigate to
htdocs/using Command Prompt. - Run the following command –
composer create-project codeigniter4/appstarter codeigniter4
- Here,
codeigniter4is the project name which you can change while executing it.
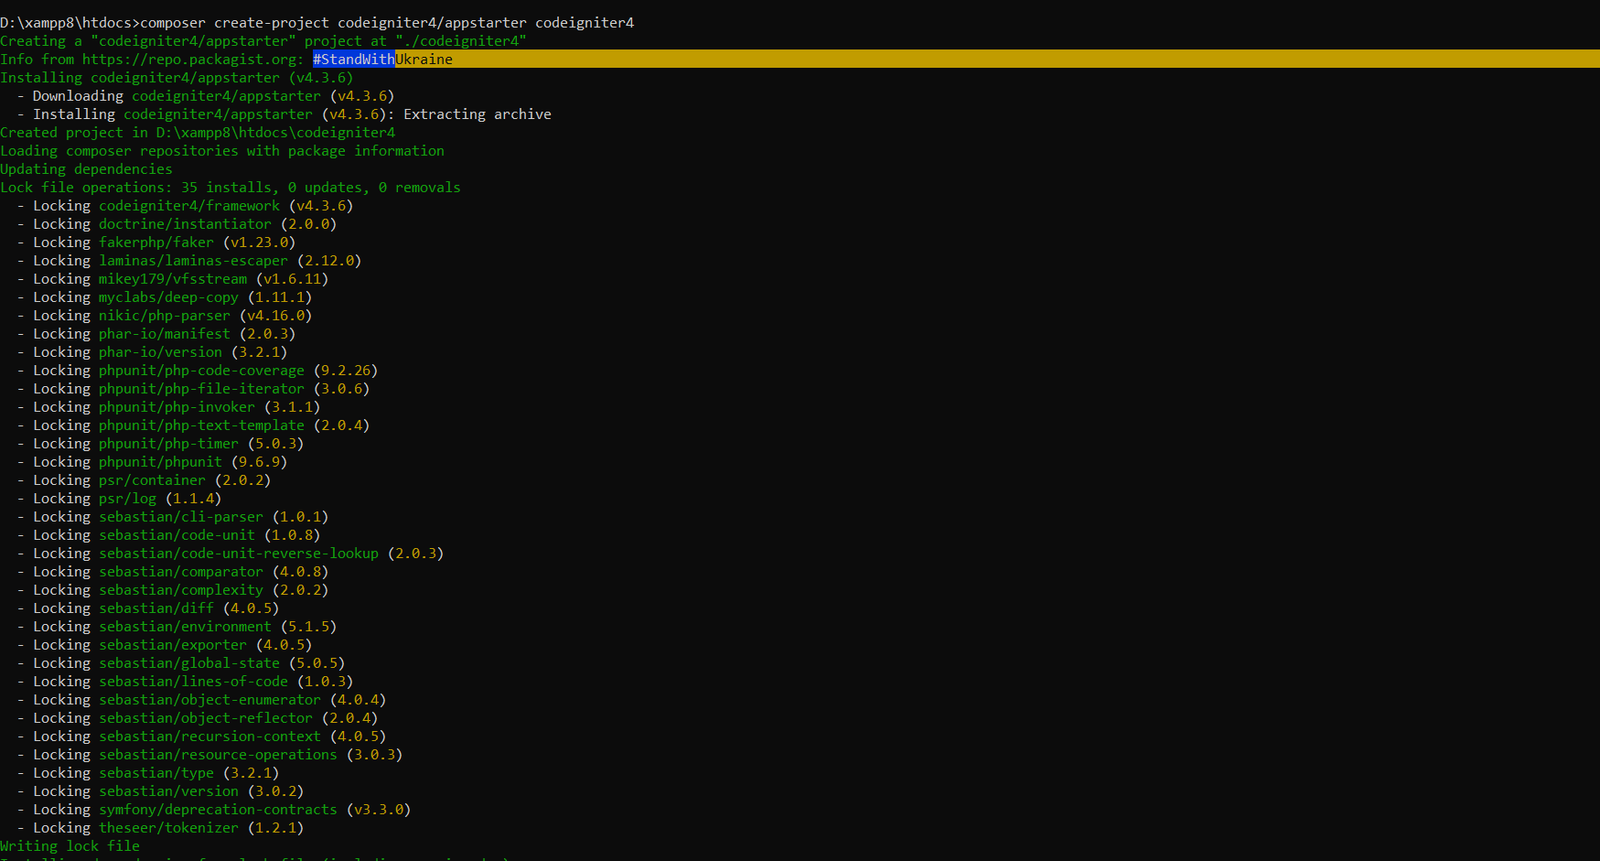
- Installation is complete. Go to section 4: Run CodeIgniter 4 project to run the project.
3. Installing CodeIgniter 4 on Mac
There are 2 ways to install CodeIgniter 4 on Mac:
1. Download Codeigniter 4:
- Download the latest CodeIgniter 4 zip file version from the official website.
- Copy the downloaded zip file and navigate to the
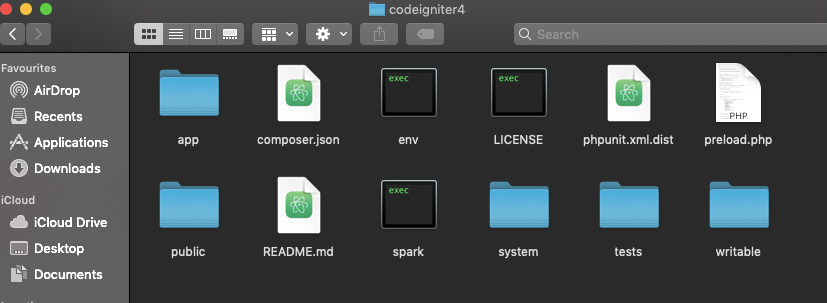
htdocsfolder to paste the copied ZIP file. - Extract the zip file and rename the folder (e.g. codeigniter4).
- CodeIgniter 4 installation is complete. Go to section 4: Run CodeIgniter 4 project to run the project.
2. Installing CodeIgniter 4 using Composer:
- Open the terminal and navigate to
htdocsdirectory. - Execute the following command to create the project –
composer create-project codeigniter4/appstarter codeigniter4
- Here, I set the project name to
codeigniter4which you can change before executing the command.
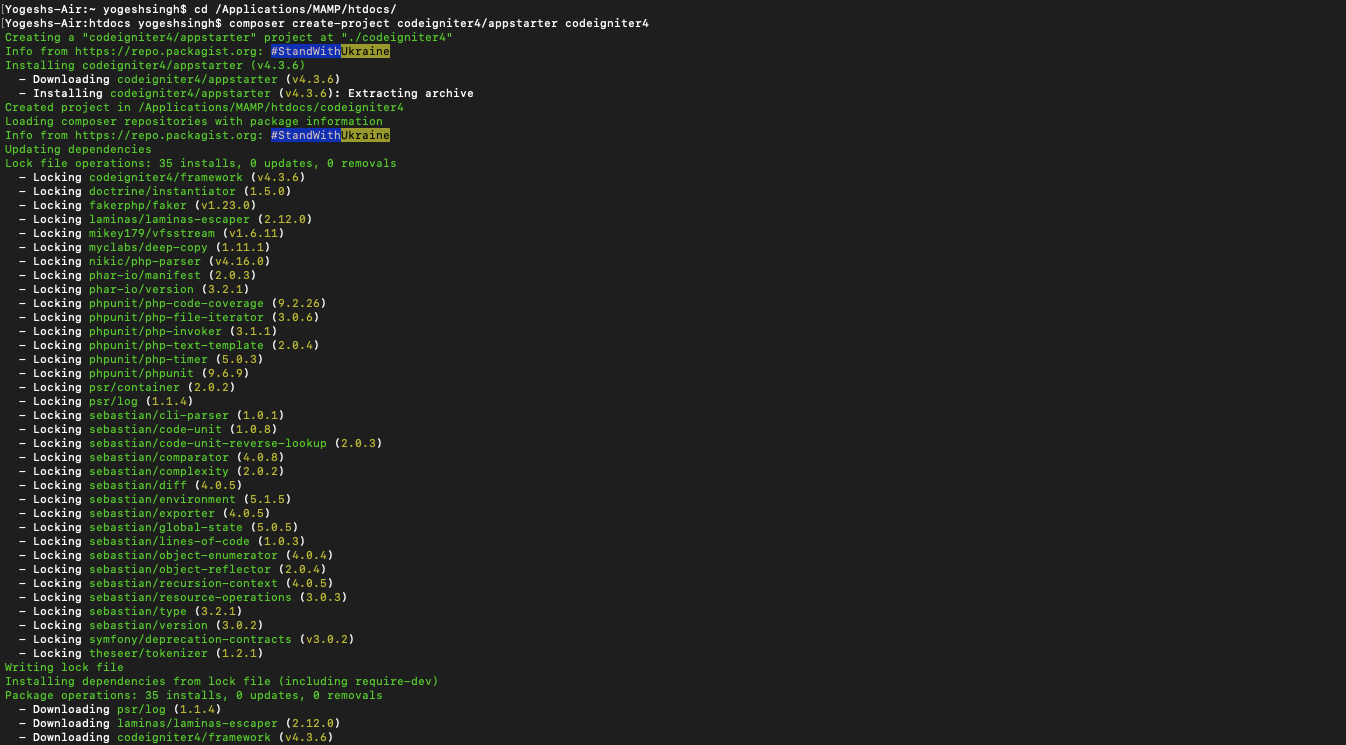
- Codeigniter 4 Installation is complete. Now you can go to section 4: Run CodeIgniter 4 project to run the project.
4. Run CodeIgniter 4 project
Running CodeIgniter 4 project step is the same for both Windows and Mac.
There are 2 ways to run the project –
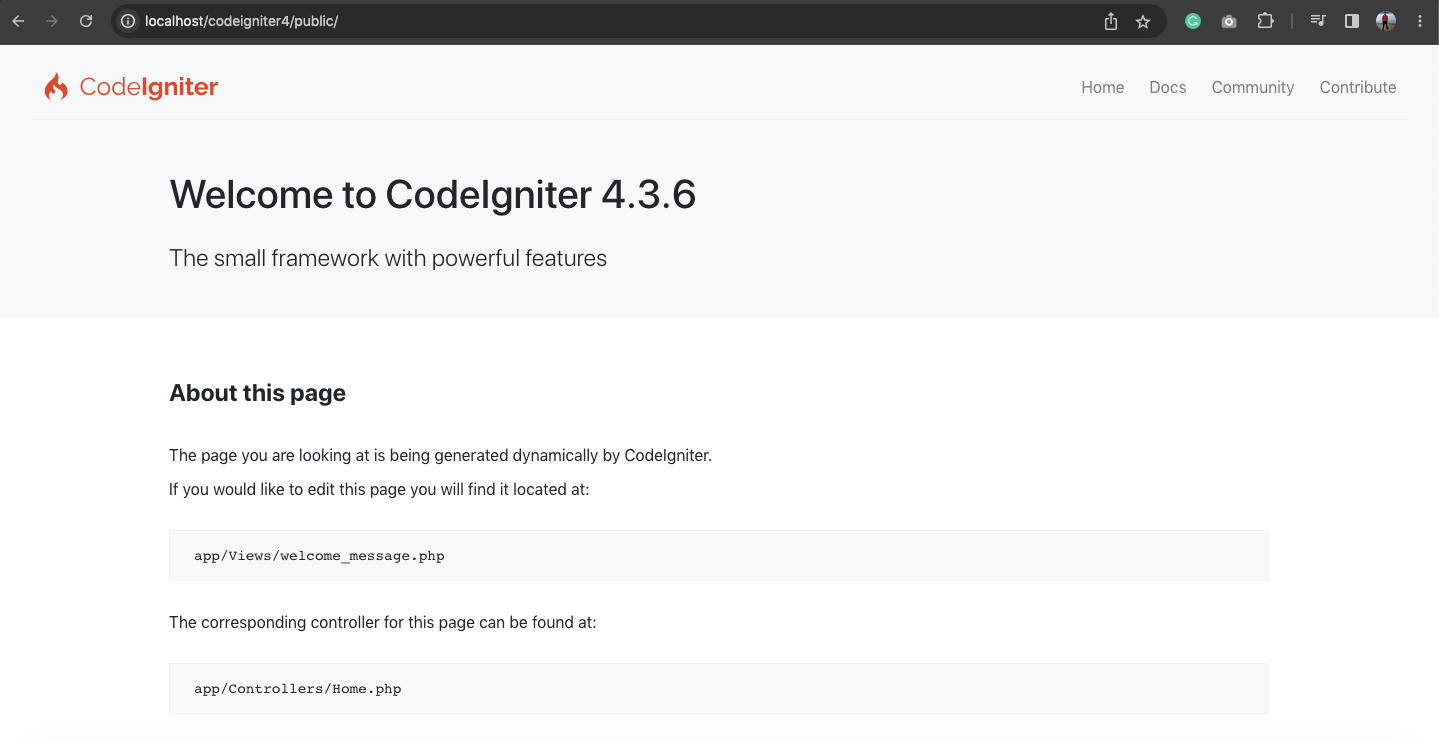
1. Run CodeIgniter 4 project without starting the Local Development Server
- Run the project
public/folder.
http://localhost/codeigniter4/public/
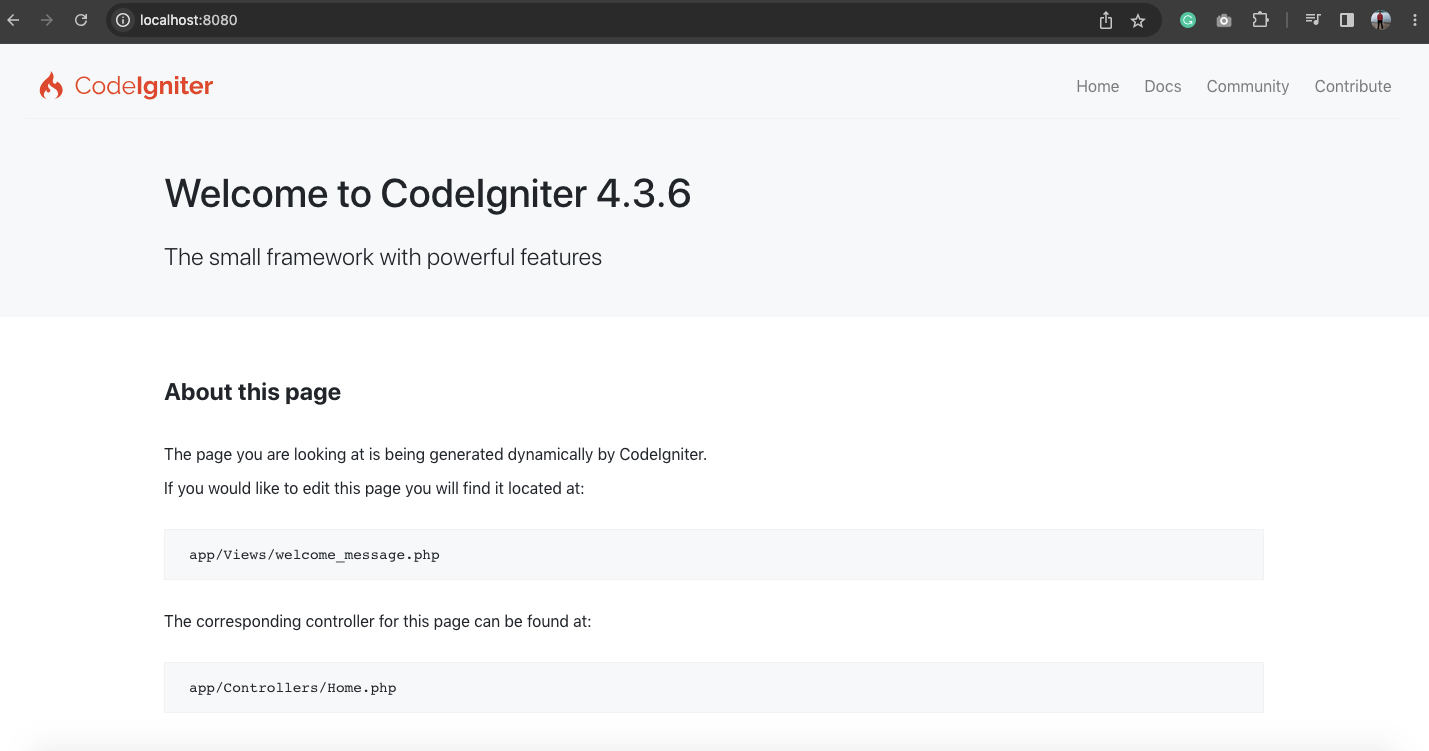
2 . Run CodeIgniter 4 by starting the Local Development Server
- You can also run the project by starting a local development server.
- Run the following command in the Command Prompt if you are on Windows or on the terminal if you are on Mac.
php spark serve

- Development URL display after starting.
- Run – http://localhost:8080/ in the browser.
5. Conclusion
By following mentioned steps, you can quickly set up CodeIgniter 4 framework with and without composer on your Windows or Mac system. Enjoy the benefits of this powerful PHP framework and build dynamic web applications efficiently.
You can also check out other CodeIgniter 4 tutorials –
- How to create and load view in CodeIgniter 4
- CRUD (Create Read Update Delete) in a CodeIgniter 4
- How to Send AJAX request with CSRF token in CodeIgniter 4
- Make Pagination with search filter in CodeIgniter 4
- more
Thank you for the detailed explanation thanks to you i was able to install CodeIgniter which i was stuck in half of day…
Its Very Heplfull, Thanks