From cPanel you cannot directly create or upload your database using PHPMyAdmin while making your website live. You need to follow some of the steps like – creating a database, user, etc.
The cPanel gives easy to use interface that makes it easier to manage the database and make it available in the PHPMyAdmin.
In this tutorial, I am assuming that you already have a cPanel enabled web hosting server.

Contents
- Create a MySQL database
- Create user for database
- Assign user to MySQL database
- Import tables using phpMyAdmin
- Update database Configuration
- Conclusion
1. Create a MySQL database
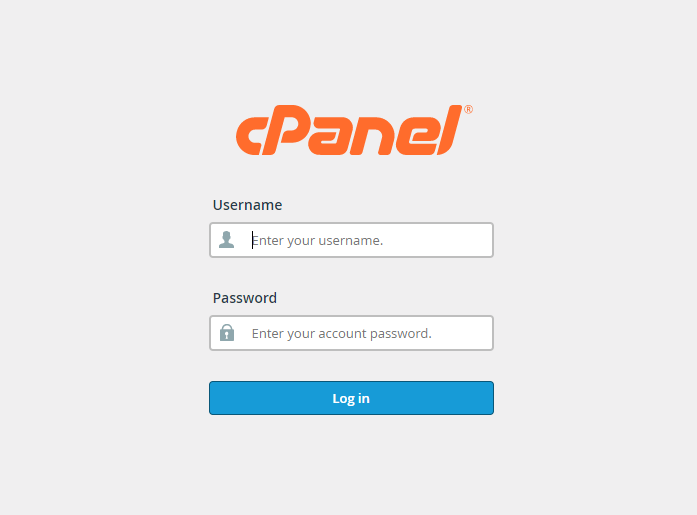
- Login to your cPanel account.

- Click on
MySQL Databasesunder Databases section.

- Enter the name of the database and click on the
Create Databasebutton.

- The database is now created.
2. Create user for database
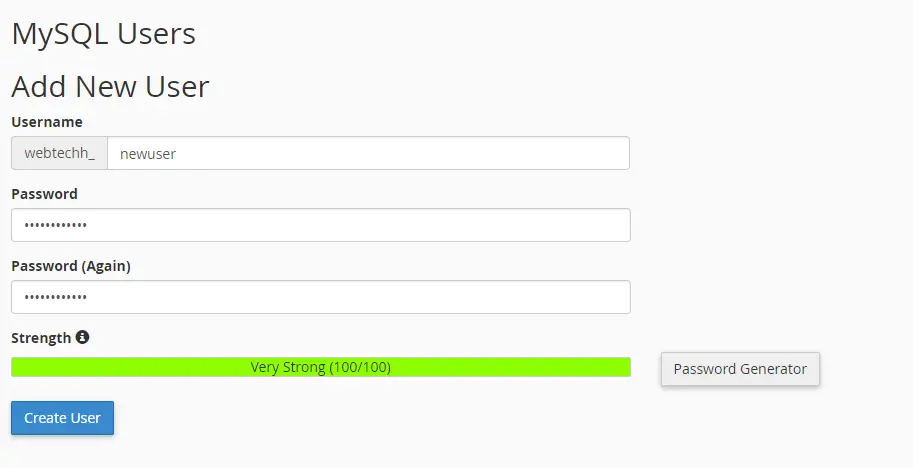
- Navigate to Add New User section.
- Enter the username and password. You can use Password Generator to create a strong password.

- Click on the
Create Userbutton.
3. Assign user to MySQL database
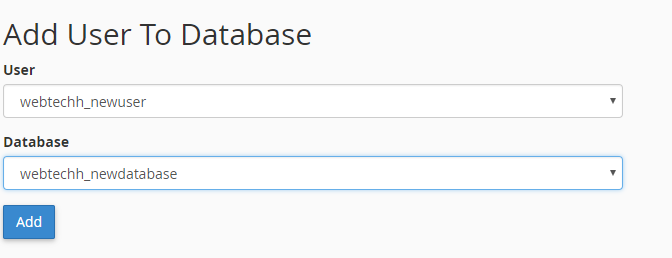
- Navigate to Add User To Database.
- Here, select your created user and Database from the drop-down.
- Click on the
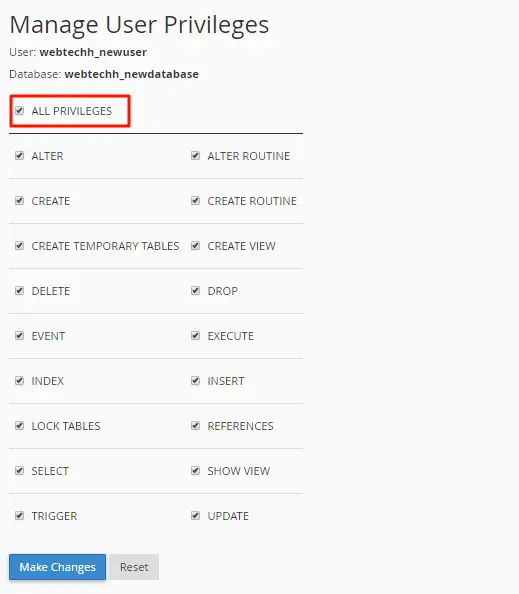
Addbutton. - You will be taken to the Manage User Privilege section. Here, check the
All Privilegescheckbox and click onMake Changesbutton.

4. Import tables using phpMyAdmin
- Back to cPanel Home and click on the
phpMyAdminunderDatabasessection.

- Find your created database and import the tables or create a new one.
5. Update database Configuration
Now update your database configuration in your project. Replace database, username, and password.
Example
<?php

$host = "localhost"; /* Host name */
$user = "webtechh_newuser"; /* User */
$password = "123456"; /* Password */
$dbname = "webtechh_newdatabase"; /* Database name */

$con = mysqli_connect($host, $user, $password,$dbname);
// Check connection
if (!$con) {
   die("Connection failed: " . mysqli_connect_error());
}
6. Conclusion
After creating the database require assigning a user for this you can either use the existing users or create a new one. You can change the user privileges on the database.
Make sure to update your project database configuration after creating and assigning the user to the database.
If you found this tutorial helpful then don't forget to share.
